
This chapter describes how to configure Ruckus Zone Director.
Before proceeding further with the configuration, you need to have a Network Station with a domain and a gateway as described in Adding a New Gateway
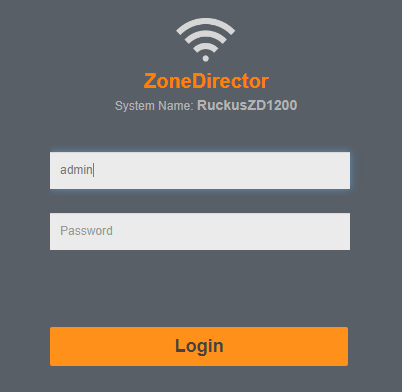
Access your Ruckus Zone Director with your credentials or use the credentials Ruckus provided you with.
The first step is to configure access to the RADIUS server and accounting. After that, you need to configure the hotspot service and, finally, the WLAN for the hotspot service.
The first step is to configure an IP address in your Ruckus Zone Director according to your local network.
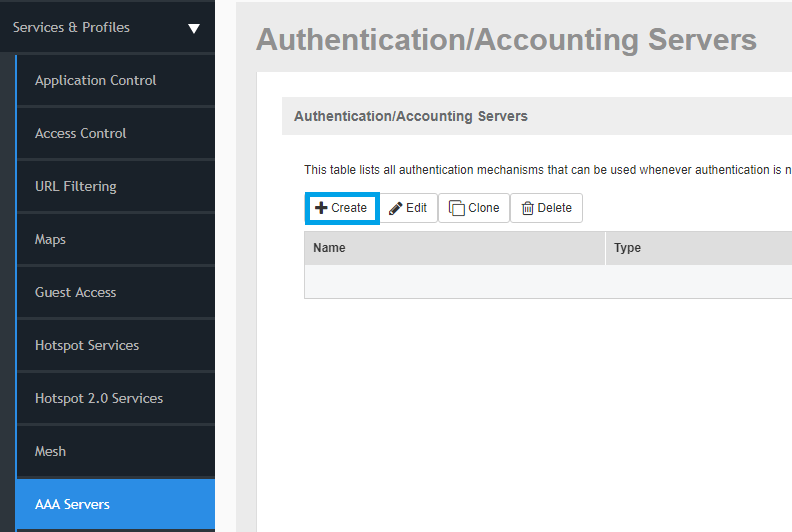
Click the Services & Profiles tab on the left, then click AAA Servers. Click +Create and specify a name. In the Type field, check the Radius checkbox, then in the Auth Method field, check PAP as shown Figure Radius
Enter the details as follows:
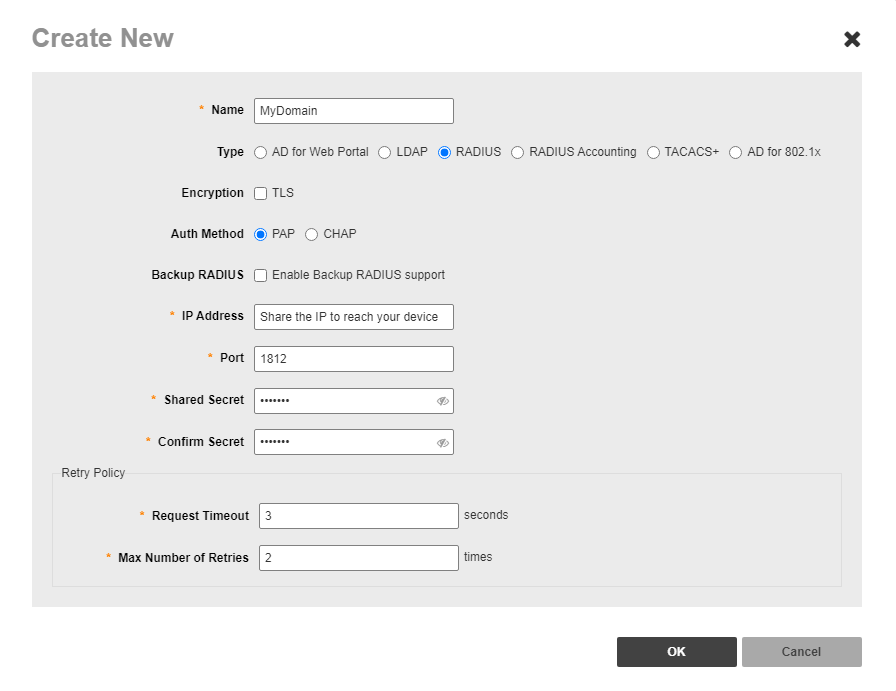
Once completed, click the OK button
Click the Services & Profiles tab on the left, then click AAA Servers. Click +Create and specify a name
In the Type field, check the Radius Accounting checkbox as shown Figure Radius Accounting
Enter the details as follows:
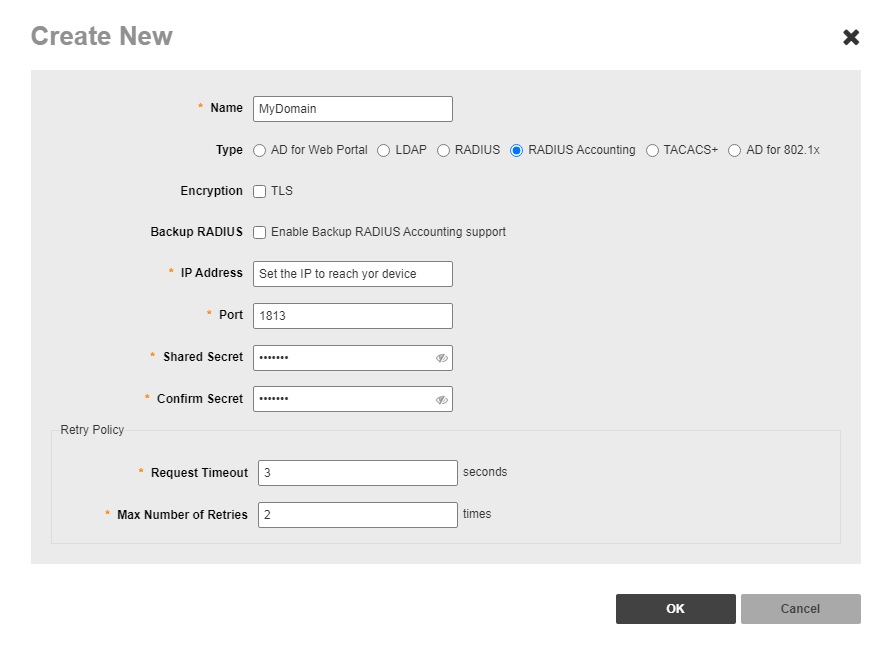
Once completed, click the OK button to save.
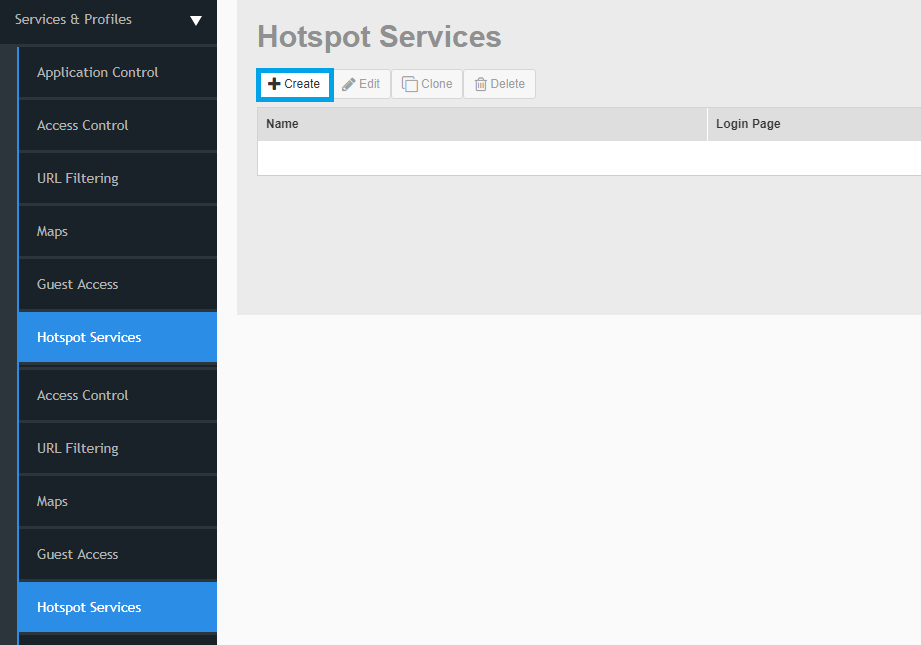
Now you need to configure the Hotspot Services. Click the Services & Profiles tab on the left and then select the Hotspot Services menu. Click the +Create link and specify the name for the Hotspot service as shown Figure Hotspot Services
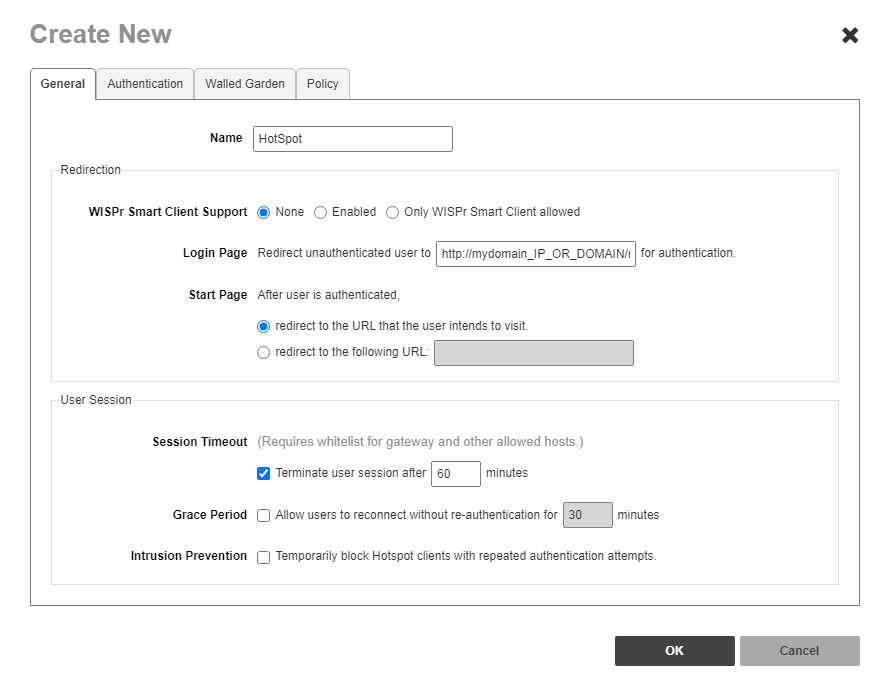
In the Login Page field enter the Network Station Welcome Portal URL where the guests will be redirected to (the URL looks like http://Network Station_IP_OR_DOMAIN/mtlogin.php?domain=domain-name-created-inside-Network Station&hotspotname=name-of-the-hotspot-created-inside-Network Station).
Enable the Session Timeout and set the Terminate user session after field to X minutes, for example 60 minutes
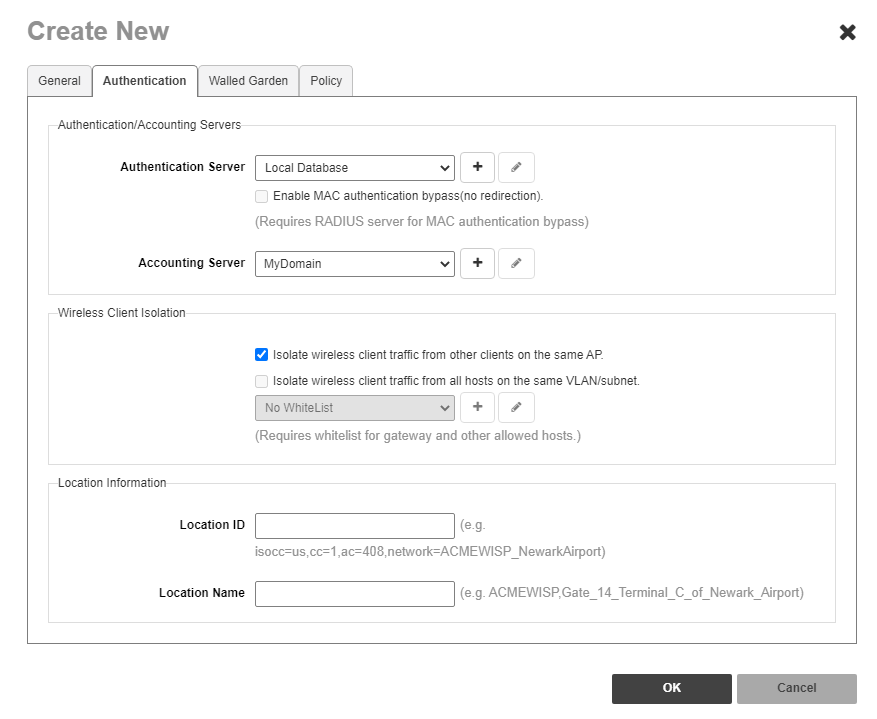
In the Authentication Server field select the radius name created in the Configuring the Radius Server chapter
In the Accounting Server field select the radius name created in the Configuring the Radius Accounting chapter.
Click the Wireless WLANs tab on the left.
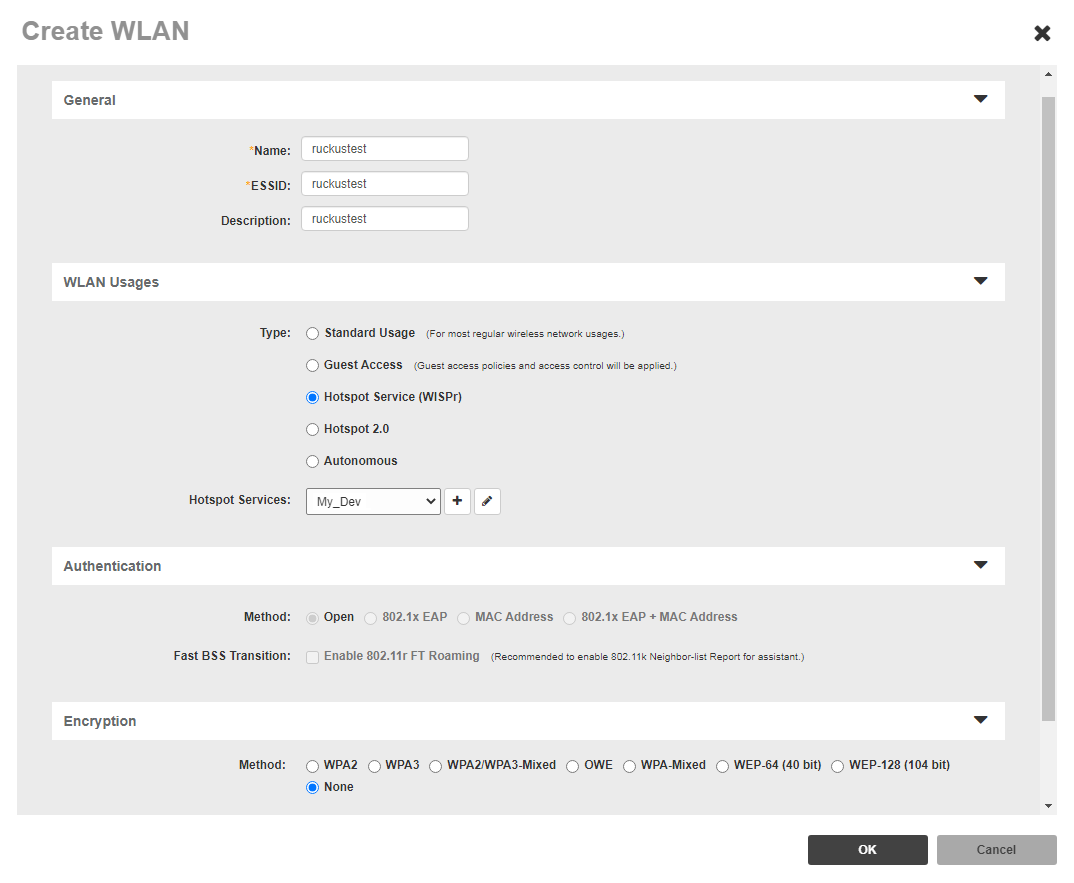
Click +Create, then specify a SSID for your wireless network.

In the Type field check Hotspot Services WISPr as shown Figure WLANs
In the Hotspot Services you need to select the Hotspot service previously created in the previous Configuring the Hotspot Services chapter.
Once completed, click the OK button to save.
The configuration is now complete. Now, if you connect to a Ruckus AP configured with ZoneDirector, you will be able to view the Network Station Welcom Portal.